
Add an Outline to an Image
This free tool draws a border around a cut-out image, the way a sticker has a white margin following its shape. Pick the thickness and color, and download a PNG with the background still transparent.
Drop a cut-out here
A PNG or WebP with a transparent background
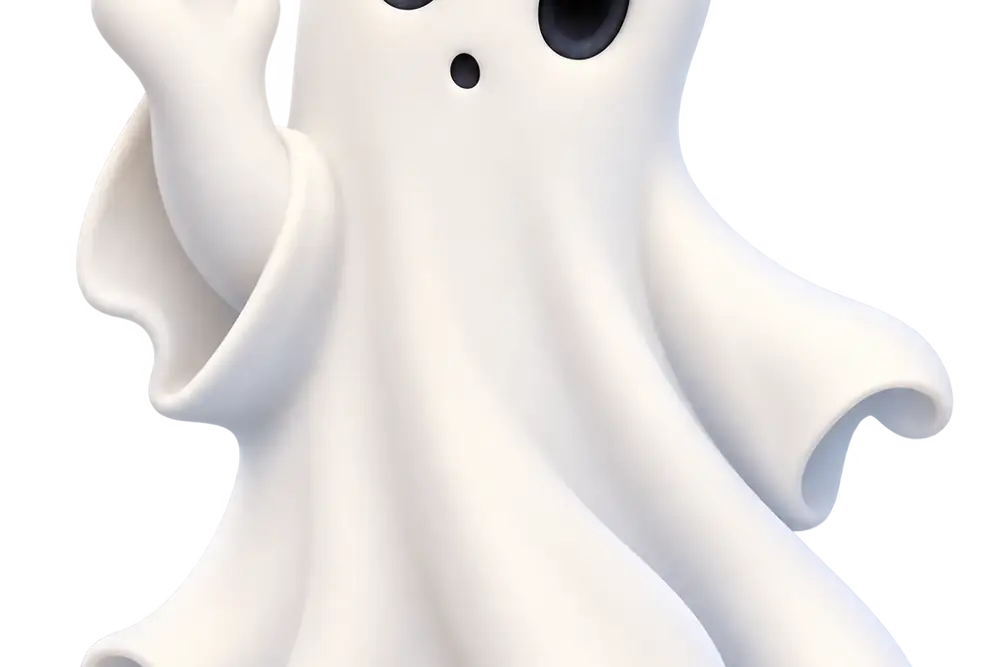
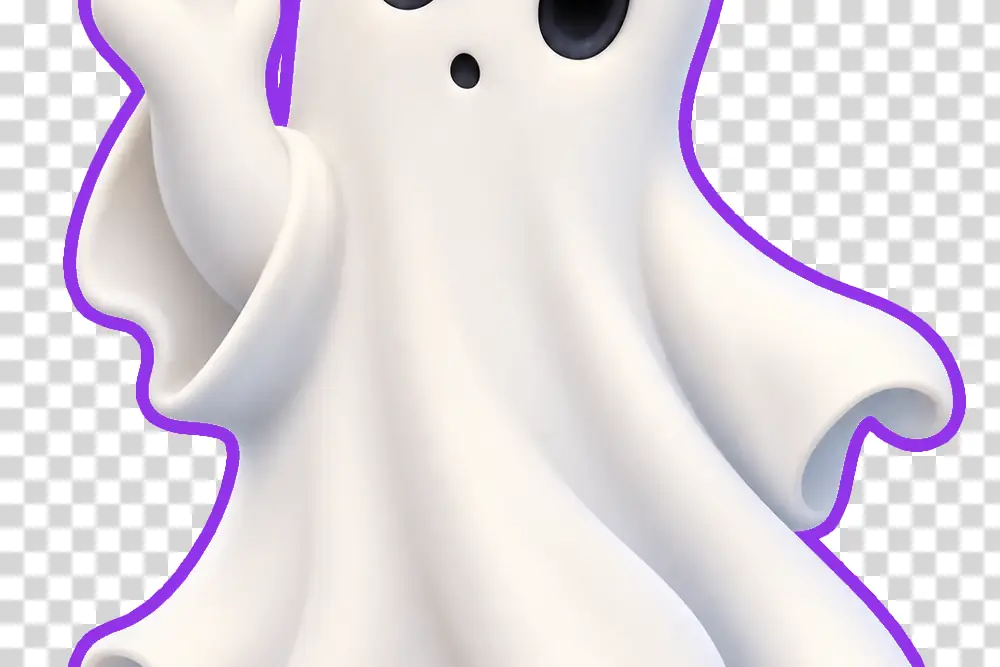 BeforeAfter
Runs entirely in your browser. Your images are never uploaded to a server.
How it works
- Drop a PNG with a transparent background onto the box above, or paste one with Ctrl+V.
- The outline is drawn straight away, behind the image rather than over it.
- Set the thickness, and pick a color: white is the classic sticker look, and a brand color works for a logo.
- Download the PNG. The background stays transparent, and the canvas is grown so the border is never cut off.
Common use cases
- Making a photo cut-out look like a die-cut sticker for a shop, a laptop or a print run.
- Lifting a product off a busy background so it survives being placed on a photo.
- Giving a logo a white keyline so it stays legible over an image.
- Making a subject stand out in a thumbnail, which is most of why they work.
- Adding a border to an emoji or a cut-out for a chat sticker pack.
Frequently asked questions
- How do I add an outline to an image?
- Drop a cut-out above and set the thickness. The one requirement is that the image already has a transparent background, because an outline follows the edge of a shape and a rectangular photo has no shape to follow: outlining it would draw a rectangle. If yours is a normal photo, run it through Remove White Background first and bring the result back.
- Why does my JPG not work?
- JPG cannot store transparency at all. Every JPG is a solid rectangle of pixels, so there is no cut-out edge to draw around and the tool would have nothing to do but frame the whole picture. This is also why the download here is always a PNG: saving a cut-out as a JPG fills the transparent part with a solid color, which turns a sticker back into a rectangle.
- Why is the outline round at the corners instead of square?
- Because it is drawn as a distance rather than by growing the shape a pixel at a time. Every point within the chosen thickness of the shape is part of the border, which is the same definition a compass has, so corners come out rounded exactly as a real die-cut sticker does. Growing pixel by pixel is the more obvious method and it produces visibly faceted corners, in a diamond or a square depending on which neighbors are counted.
- Does the image get bigger?
- Slightly, and on purpose. The canvas grows by a little more than the thickness on every side, because a subject that touches the edge of its own picture has nowhere for the border to go and would come out flat down that side. That flat edge is the single clearest sign of a sticker made by accident, so the room is added before the border is drawn rather than after.
- What thickness should I use?
- For a sticker, something you can see clearly at the size it will be used: on a 1000px image, twelve to twenty pixels reads well and anything under about five disappears at thumbnail size. For a keyline on a logo, much less, two to four, because the job there is legibility rather than decoration. The thickness is in pixels of the original image, so a large photo needs a larger number to look the same.
- Are my images uploaded to a server?
- No. The outline is drawn in your own browser using the Canvas API. The file never leaves your device and nothing is stored.
Related tools
Understand what this does
Plain explanations of what is happening to your file, and what it costs you.